Development setup instructions
Prerequisites
If you are building in the app for prototyping, testing, or demo purposes, you can freely build locally for Android without requesting access or keys.
You can also consider using our codespaces setup to get up and running quickly.
Access
- You have been fully onboarding into the VA Github organiztion.
- An SSH key setup with github: Connect With SSH.
- You or your team has been approved to build and release a production feature into the VA Mobile App by a VA Product Owner.
- If your feature is approved, reach out to Flagship support to get access to App Store Connect so you can build the iOS app locally.
Software
Environment variables setup
If you are using zsh on Mac you will need to create the .zprofile and .zshrc files if they do not exists.
In your bash_profile or .zprofile add the following (updated JAVA_HOME with your Java version after the installation above):
# JAVA_HOME` variable pointing to the java installed above example
export JAVA_HOME=$(/usr/libexec/java_home -v 23.0.2)

# `NODE_OPTIONS` this is to manage the node memory space
export NODE_OPTIONS=--max_old_space_size=8192

# Android specific vars for the ANDROID_HOME, platform-tools and cmdline-tools
export ANDROID_SDK=/Users/(your user folder)/Library/Android/sdk
export ANDROID_HOME=$ANDROID_SDK
export PATH=$PATH:$ANDROID_HOME/cmdline-tools/latest/bin
export PATH=$PATH:$ANDROID_HOME/platform-tools

# The build of the app relies on a scripted creation of the .env
# file to run correctly. You will need to add the `APP_CLIENT_SECRET`
# var to work correctly:
export APP_CLIENT_SECRET='client secret ask for this client key'

# The app has a demo mode. To use demo mode the app reads the
# `DEMO_PASSWORD` var. You can set this to a blank password or
# assign any string to it

export DEMO_PASSWORD=''
After adding the variables, restart your terminal window and the variables should be activated. Run which adb to make sure the android variables are working. If they are not, please reach out to Flagship support.
Local project setup
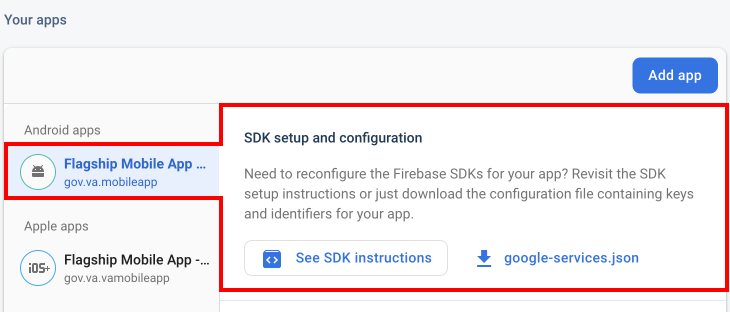
- Verify you have access to the Firebase console. If you don't, please reach out to Flagship support.
- With your preferred code editor, navigate to the
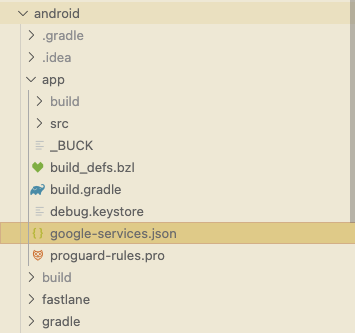
va-mobile-app/VAMobilefolder inside your cloned version of the repository. - In the
android/appdirectory add a file namedgoogle-services.json. You can download thisgoogle-services.jsonfile from the firebase console, under the "your apps" section. You can also download the correspondingGoogleService-Info.plistfile you will need to later place in your inVAMobile/ios.
Download the files from Firebase
Android
iOS

Add file to proper directory
- Open a terminal and type
nvm useand press enter to set the node version for the project (if the version isn't installed, it will prompt you with the install command). - In a terminal, type
yarnoryarn installand press enter to install the projects dependencies. This will create thenode_modulesfolder. - After dependencies are installed, type
cd ios && pod install && cd ..and press enter to install pods on iOS (This is done once unless you installed new dependencies that need pods created). - Run
yarn env:stagingand press enter to setup the staging environment and create the.envfile. Verify the file has the client key and demo password that is in your.zshrcfile. - Run
yarn bundle:iosand press enter to create the IOS bundle. - Run
yarn bundle:androidand press enter to create the android bundle. - Run
yarn startto start the metro development server.
Android Setup
Emulator Setup
-
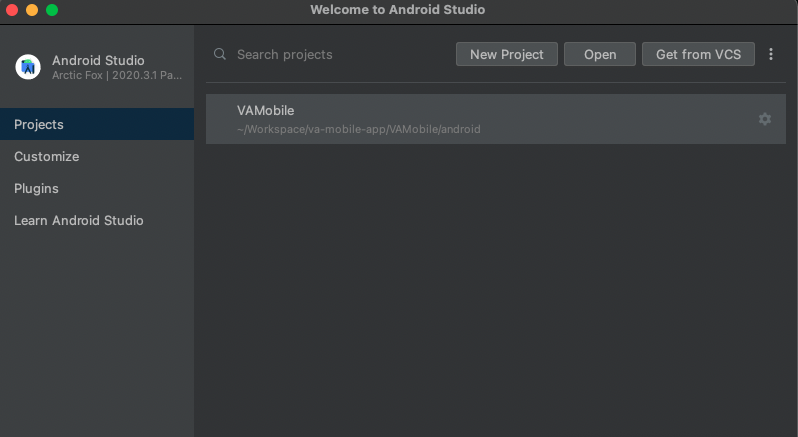
Open Android Studios and select to a open project.
-
On the popup window, browse to
va-mobile-app/VAMobile/androidand select the android folder from the VAMobile project and press open.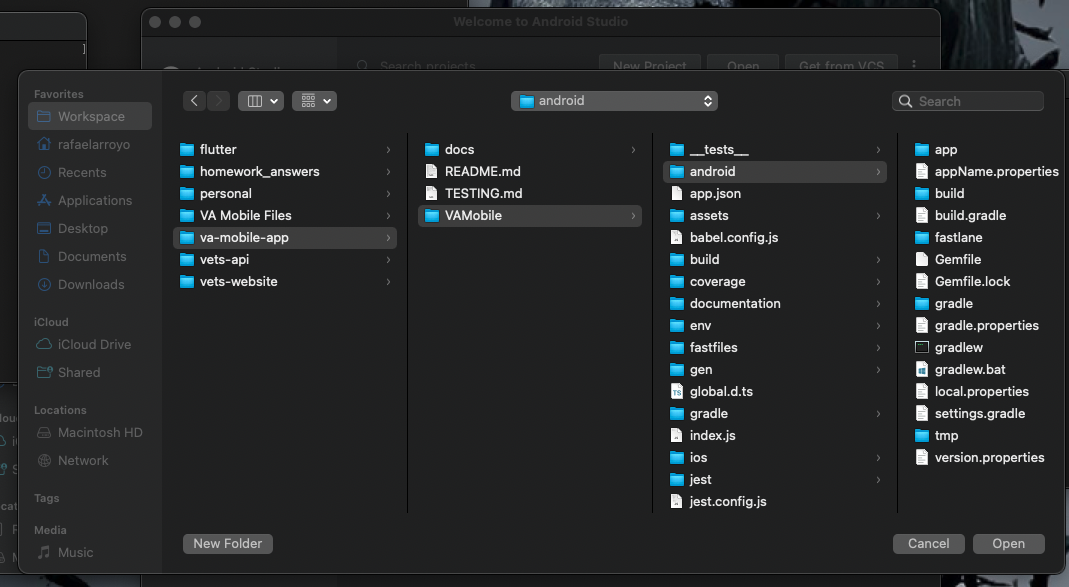
-
After opening the android project, you will need to sync the project with gradle. Go to
File -> Sync Project With Gradle Files.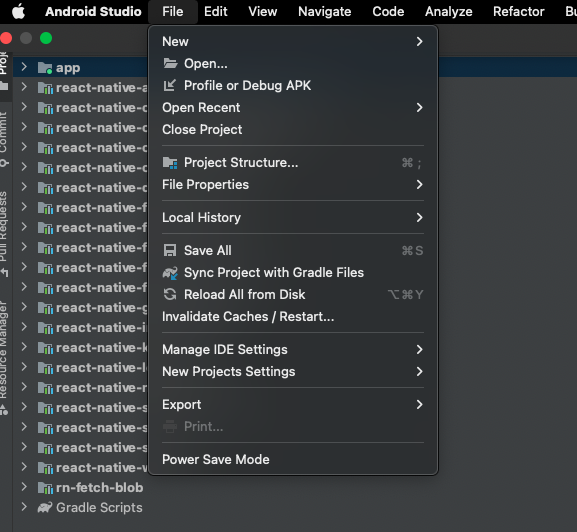
-
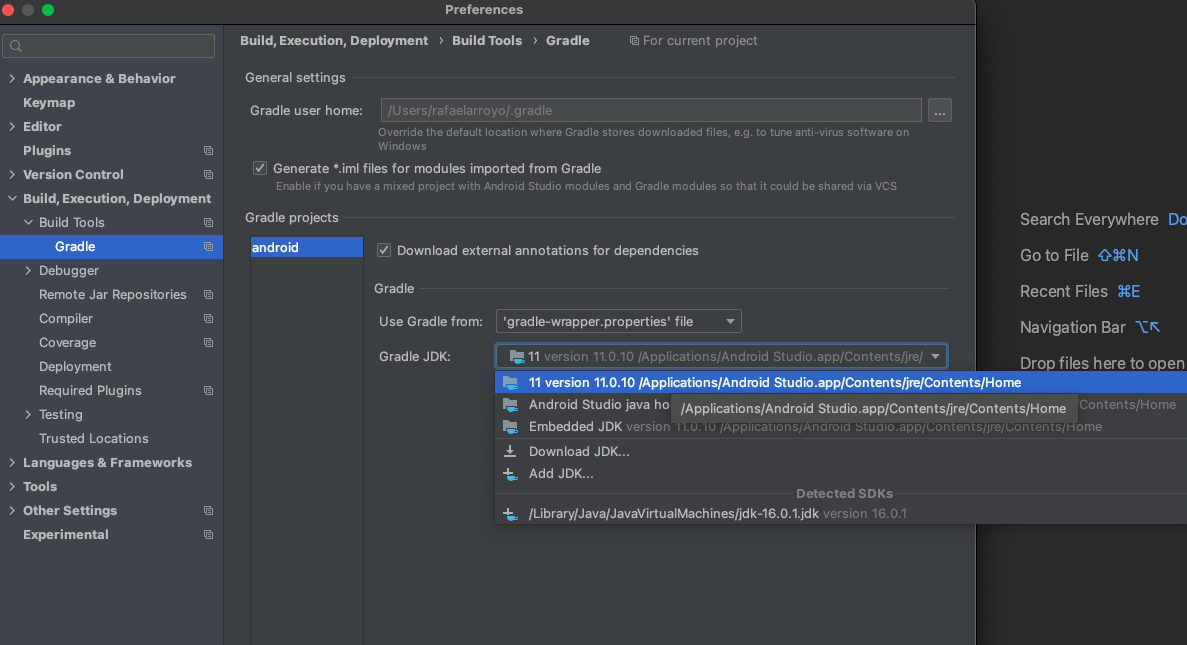
Go to
Android Studios -> Preferences -> Build, Execution, Deployment -> Build Tools -> Gradleand verify that the Gradle JDK is pointing to/Applications/Android Studio.app/Contents/jre/Contents/Home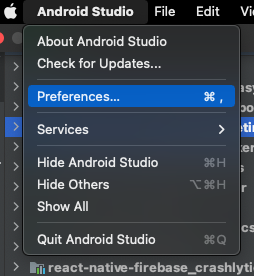
-
Add a test emulator in Android Studios
Tools -> AVD Manager. Follow the instructions on Android Emulator Setup to add a new virtual device. -
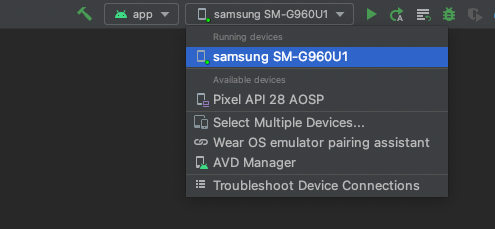
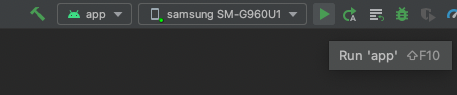
After adding the new virtual device, select it from the top device menu.
-
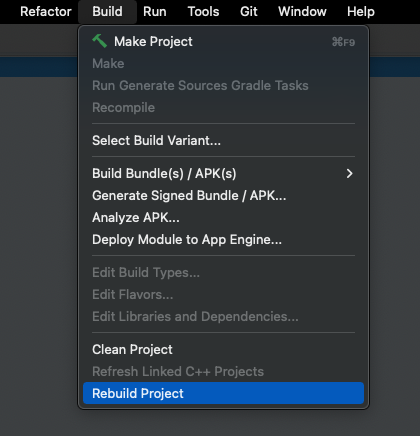
Build the project
-
Launch Virtual Device from Android studio.
-
Verify the Virtual Device launches and Android Studio installs and opens the VAMobile app on the device.
Physical Device Setup
-
Open Android Studio and select to a open project.
-
On the popup window, browse to
va-mobile-app/VAMobile/androidand select the android folder from the VAMobile project and press open. -
After opening the android project, you will need to sync the project with gradle. Go to
File -> Sync Project With Gradle Files. -
Go to
Android Studio -> Preferences -> Build, Execution, Deployment -> Build Tools -> Gradleand verify that the Gradle JDK is pointing to/Applications/Android Studio.app/Contents/jre/Contents/Home -
Turn on developer mode for the phone. See React Native Instructions
-
Connect phone with a usb to the host machine.
-
Open a Terminal and type
adb devices. You should see an ouput like so.
-
Type
adb -s <device name> reverse tcp:8081 tcp:8081.
-
Select the physical device from the top device menu.
-
Build the project
-
Launch Virtual Device from Android Studio.
-
Verify Android Studio installs and opens the VAMobile app on the device.
iOS Setup
Simulator Setup
-
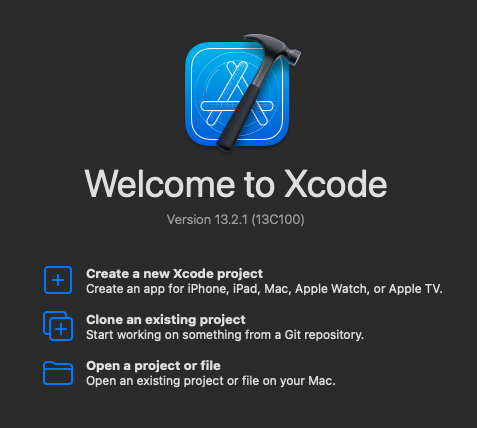
Open Xcode and select to open project or file.
-
On the popup window browse and select the
iosfolder on theVAMobileproject.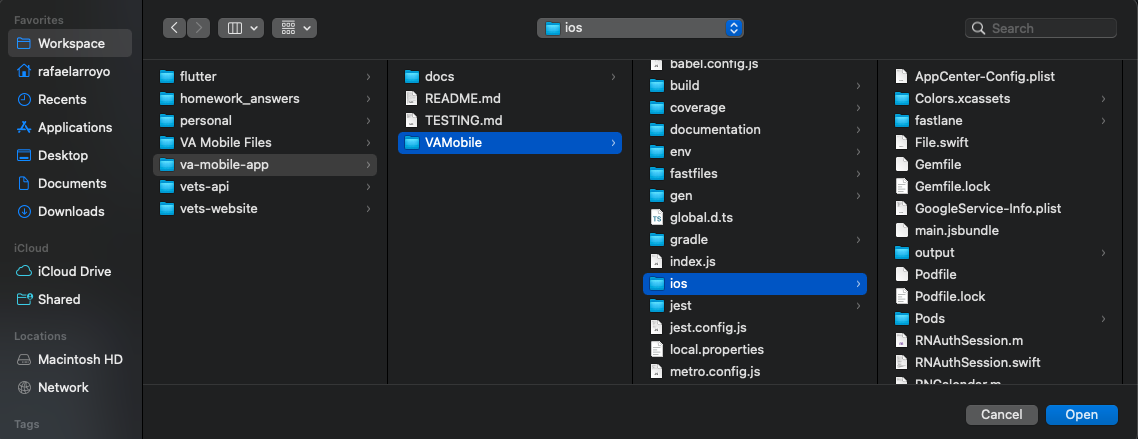
-
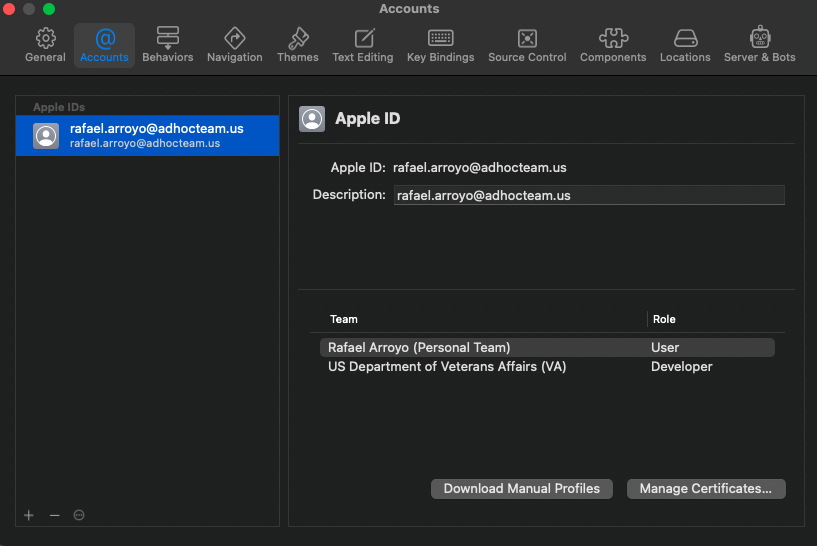
Go to Xcode -> Preference and under account verify you are signed in with the apple id which has the
US Department of Veterans Affairs (VA) developer account.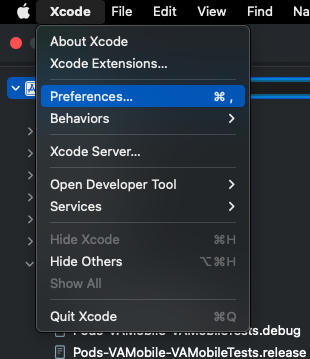
-
Select the project icon on the left hand explorer and verify you have the right signing.
Team should be US Department of Veterans Affairs (VA)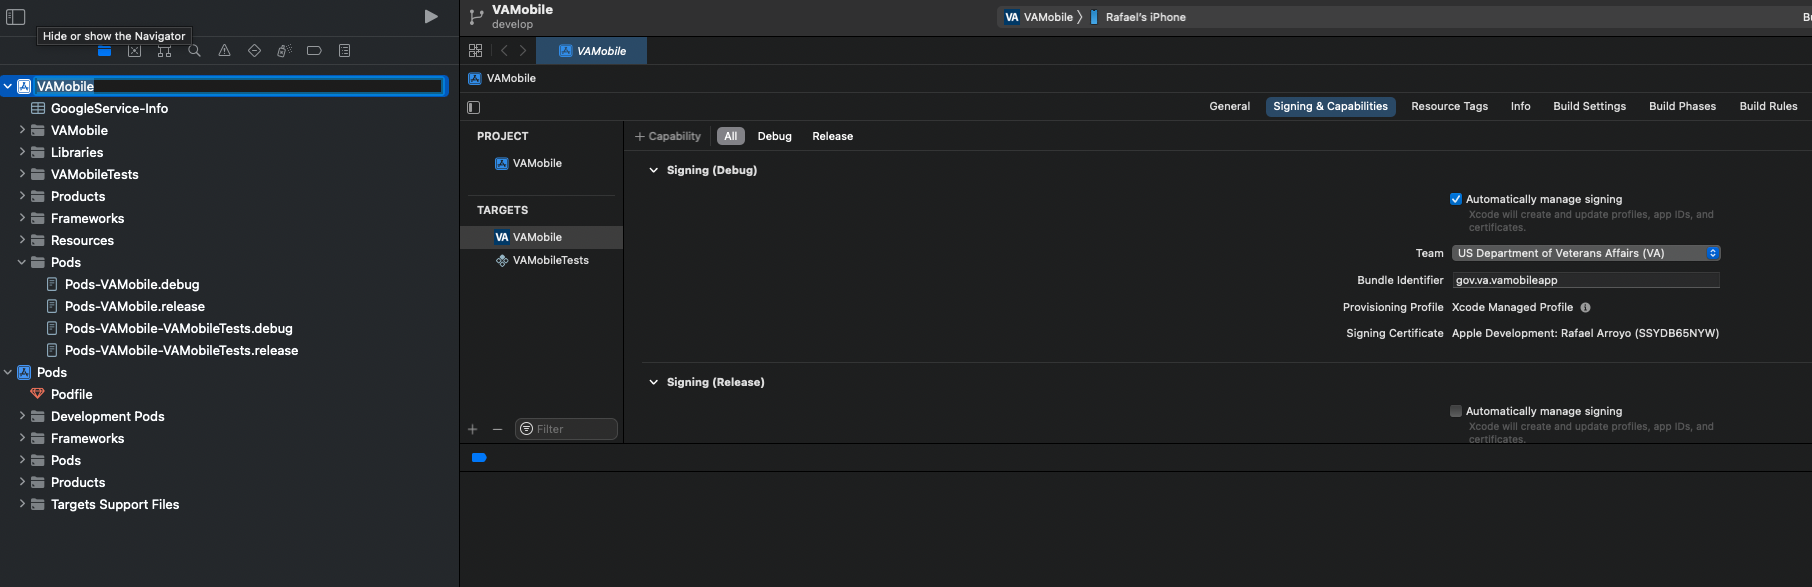
-
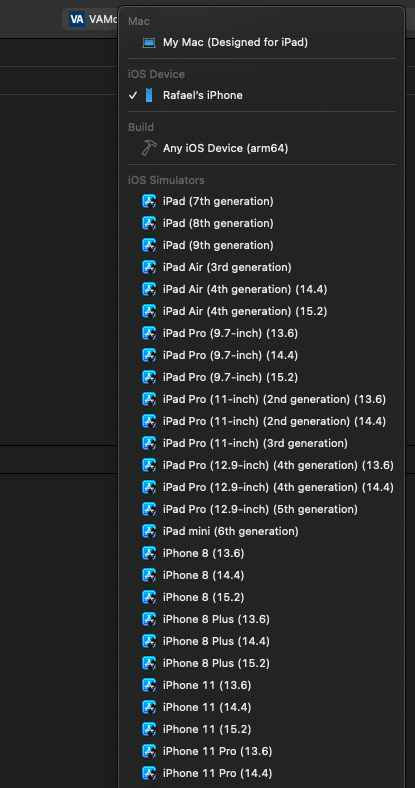
Select a simulator from the list in Xcode.
-
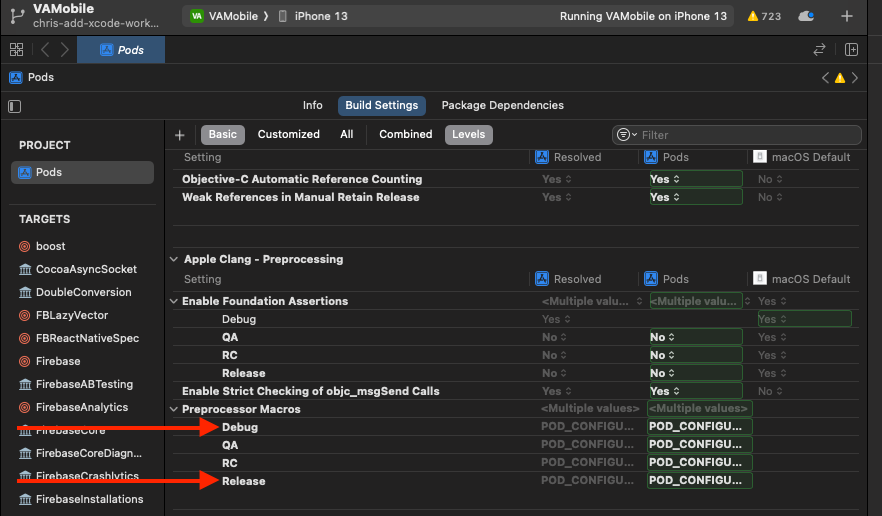
If you are using XCode 15, a temporary workaround is required to avoid a build failure with RCT-Folly.
a. Select Pods > Build Settings > Apple Clang - Preprocessing section > Preprocessor Macros section b. Add to the "Debug" and "Release" sections: _LIBCPP_ENABLE_CXX17_REMOVED_UNARY_BINARY_FUNCTION
-
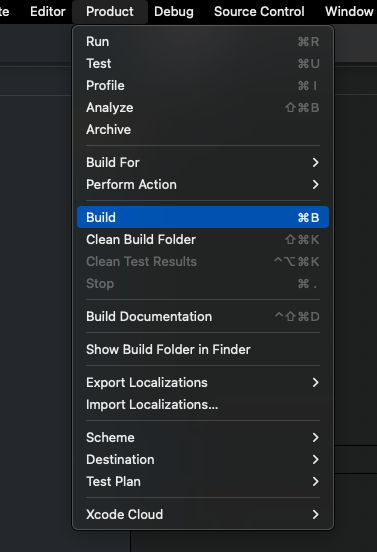
Build project on Xcode.
-
Launch simulator by pressing the play button.
Physical Device
-
Open Xcode and select to open project or file.
-
On the popup window browse and select the
iosfolder on theVAMobileproject. -
Go to Xcode -> Preference and under account verify you are signed in with the apple id which has the
US Department of Veterans Affairs (VA) developer account. -
Select the project icon on the left hand explorer and verify you have the right signing.
Team should be US Department of Veterans Affairs (VA). -
Connect the iPhone via USB to the host machine. See React Native Instructions
-
Accept permissions on your iPhone from Xcode to allow the developers option.
-
Select a device from the list in Xcode.
-
Build project on Xcode.
-
Launch device by pressing the play button.