Setup a codespace on a new branch
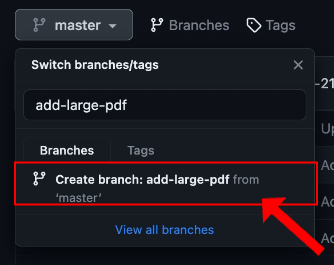
1 - Create new branch
It is always a good idea to create a new branch for any changes instead of checking directly into the main/master branch.</br>
In the following example I typed the branch name add-large-pdf and then click Create branch: add-large-pdf
2 - Create a codespace in the new branch
Click the <> Code button </br>
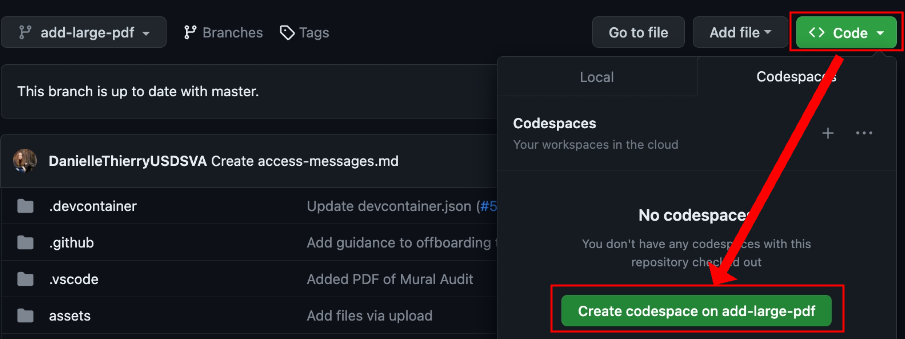
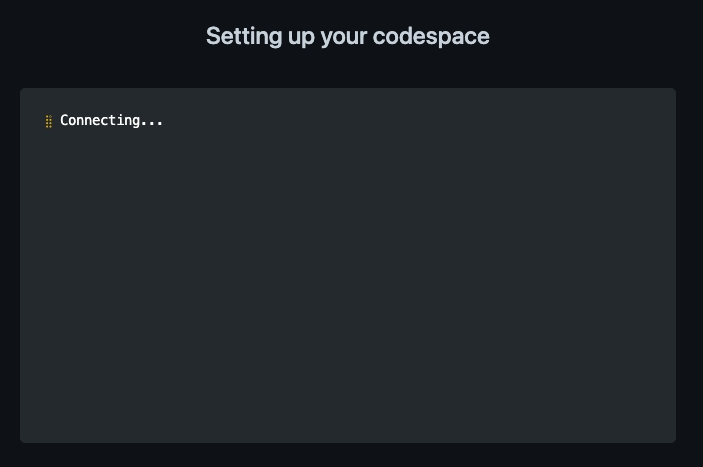
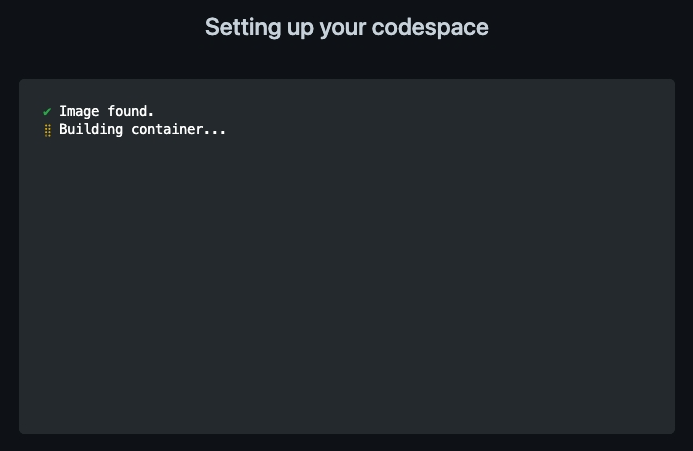
This will pop-up a new window and you will see the following screens
3 - Adding files to the repository in your codespace
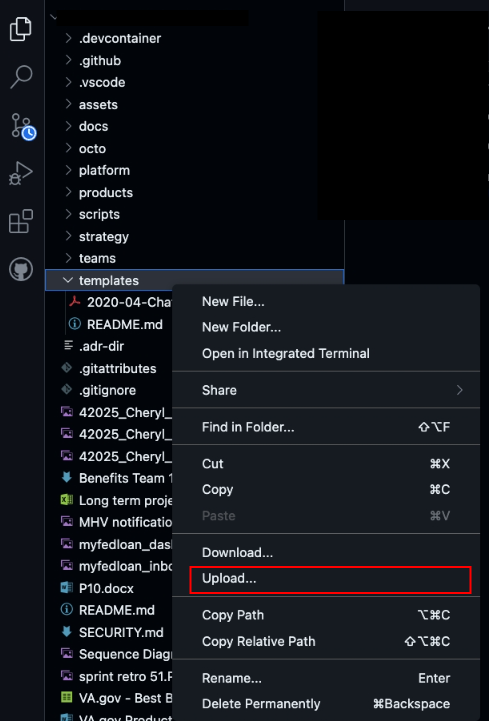
Once files are uploaded you will see them in the tree on the left</br>
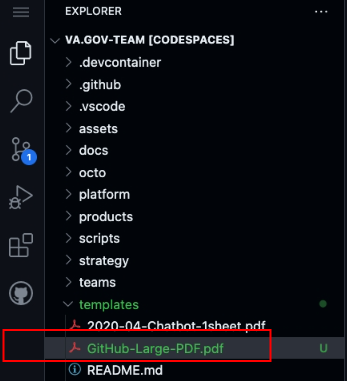
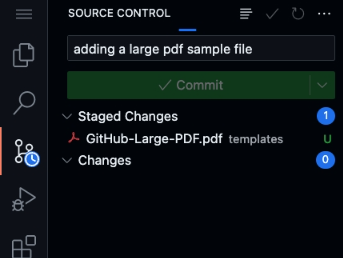
4 - Commit files to the repository
Select the git symbol on the left</br>
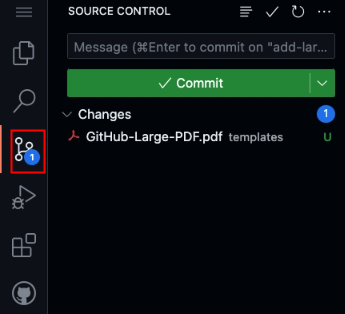
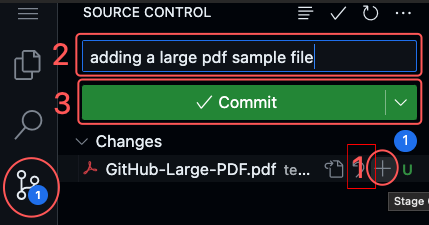
- Click the +
- Type in a commit message
- Click Commit
5 - Syncing/pushing changes to your branch
Click Sync Changes</br>
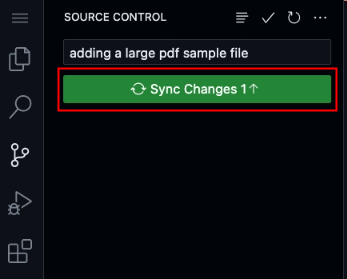

Once the sync is complete everyone can access the files you added from the new branch you created
Finding your codespaces you created
Go to codespaces
You will see detail and actions you can take about your codespace you created

Actions that can be done with your codespace
Rename, export changes, change machine type, Keep codespace, Stop codespace</br>
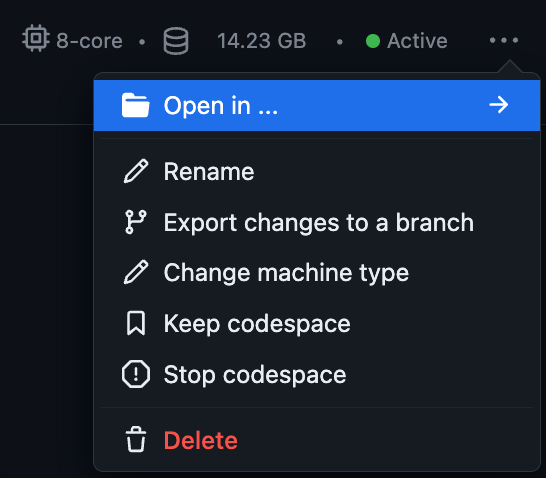
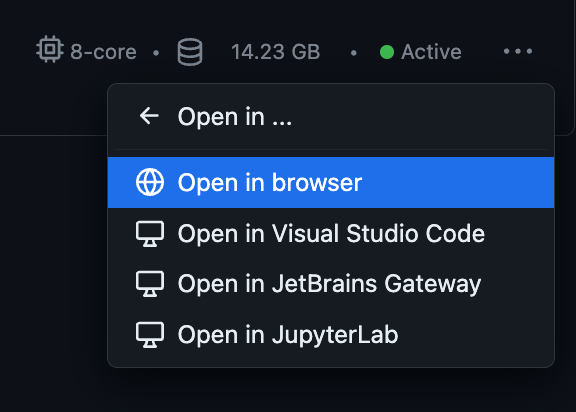
Open your codespace in a browser window
Storing a codespace configuration in your repository
Create a file in the root of your repository .devcontainer/devcontainer.json.</br>
Basic example
{
  "name": "Codespace devcontainer config for the va.gov-team repository",
  "image": "mcr.microsoft.com/vscode/devcontainers/base:ubuntu",
}
Large repository with LFS enabled and storing large binary files
Below is an example of a codespace that is used for the following:
- Large repository
- Stores binary files
- LFS enabled
{
  "name": "Codespace devcontainer config for the va.gov-team repository",
  "image": "mcr.microsoft.com/vscode/devcontainers/base:ubuntu",
  "hostRequirements": {
   "cpus": 8,
   "memory": "16gb",
   "storage": "32gb"
  }
}
Learn more
For more information on GitHub Codespaces and how to use them, please see GitHub Codespaces Docs.
 GitHub Handbook