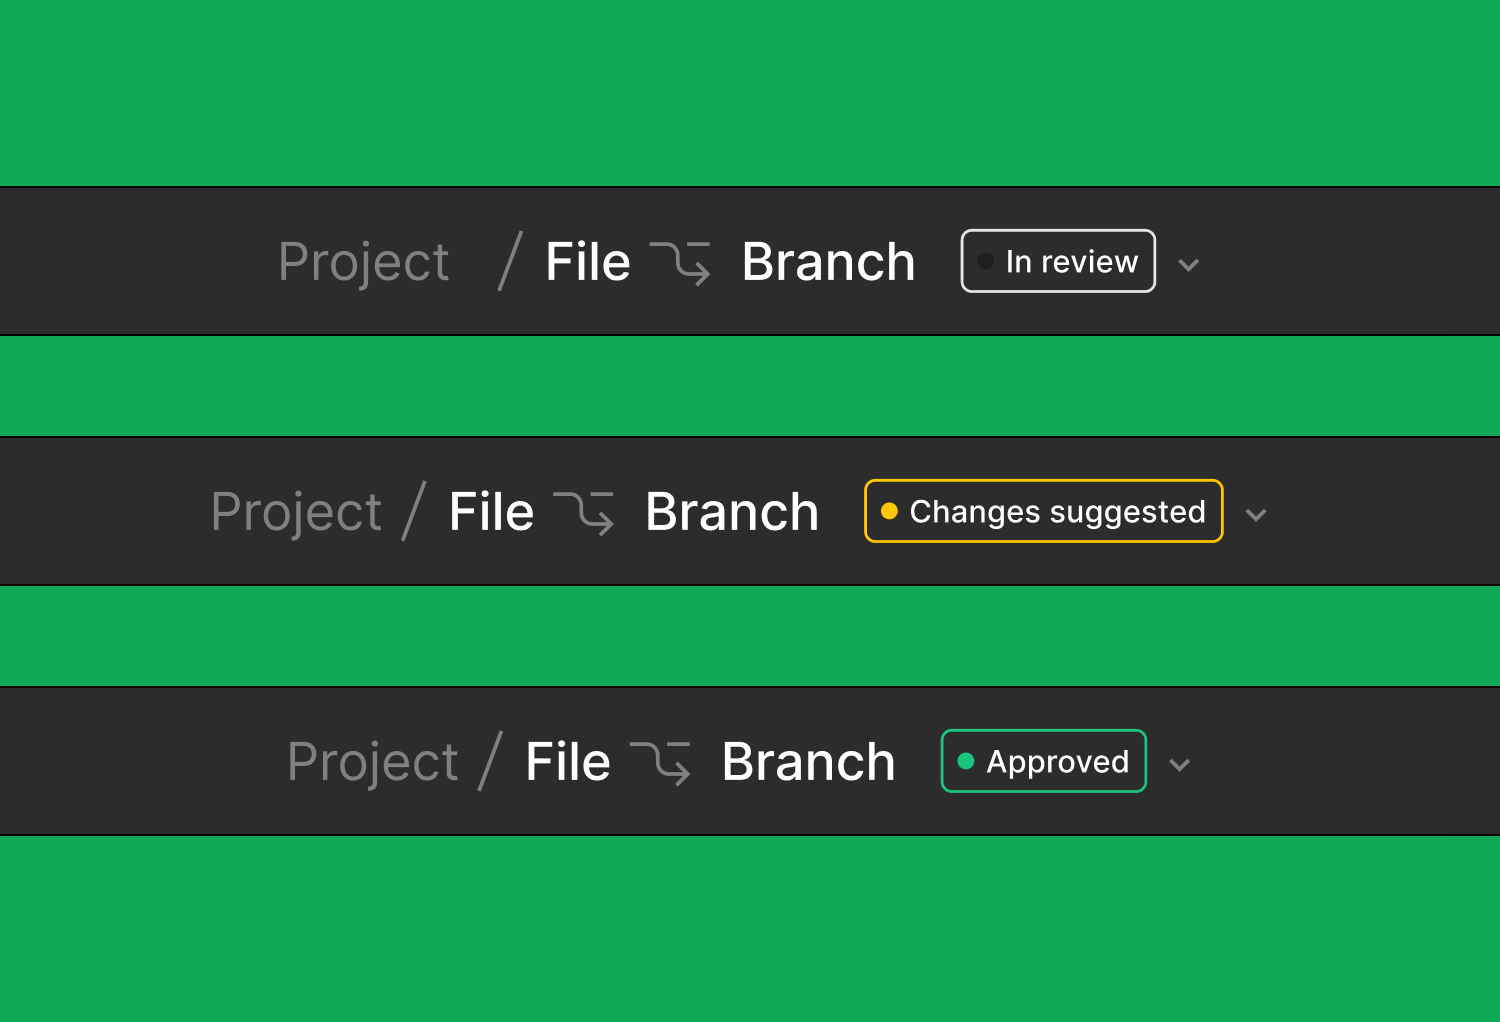
Branching in Figma
What is branching?
Branching is a form of version control commonly used in software development in which you make a copy of something, make changes, and then merge those changes back into the main file/codebase.
Why are we branching?
Branching allows you to create a separate space to experiment without impacting your main file. It also allows you to submit changes to a reviewer (ie Design Librarian) before merging your changes to the main file.
When should we create a branch?
For now, we’ll be testing branching in our design library for:
- Adding a new component to our library
- Updating an existing component in our library
- Experimental changes we don’t want to commit to yet
- Updating the shipped files
- Updating the App Store images file
In the future, we may consider branching for:
- Evaluative research such as user testing
- Large scale reorganization or restructures
- Development handoff of specific components or feature work
Who will be able to do what in the design library?
We’ll be updating permissions for the design library as follows:
- Owner (UX lead)
- Able to adjust file and project permissions
- Always has editing and publishing rights
- Also has Editor and Viewer permissions
- Editors (design librarians)
- Temporarily have editing and publishing rights
- Able to review and approve branches
- Also have Viewer permissions
- Viewers (everyone else)
- Able to create and edit branches
- Able to submit branches for review
How do I create a branch in Figma?
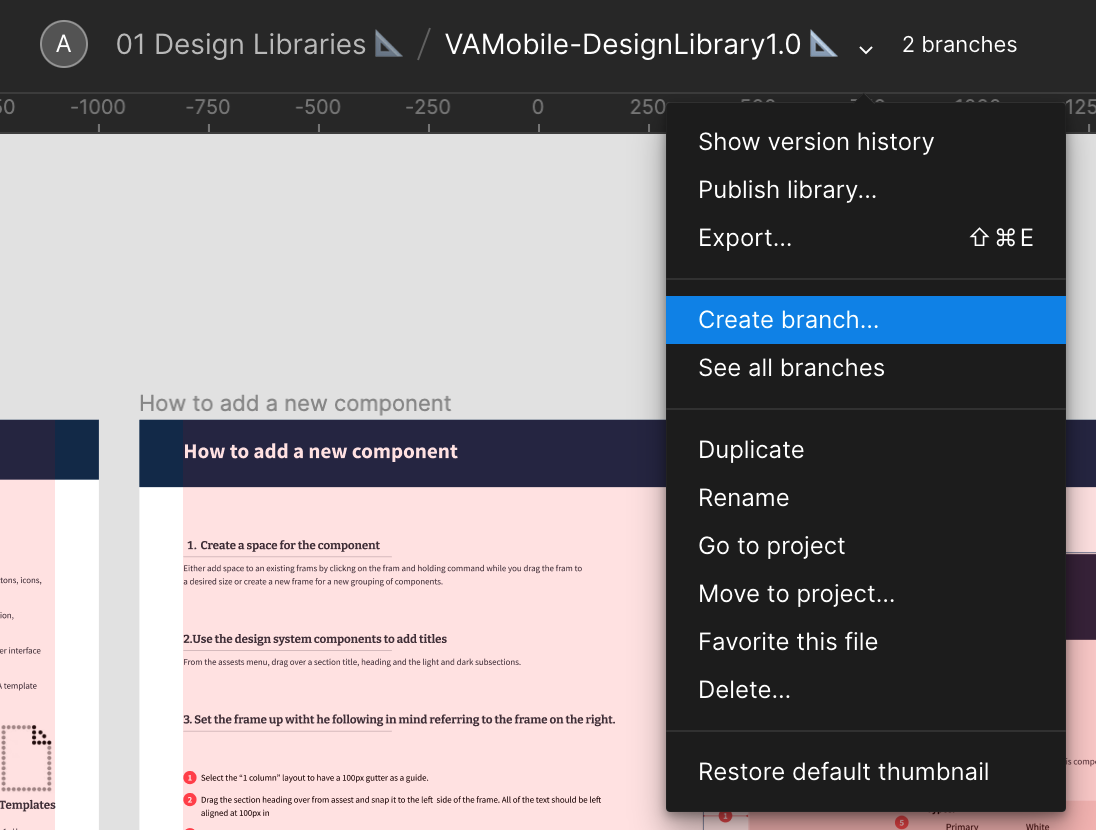
Open the file you want to branch. Next to the file name, there is a dropdown where you can select Create branch.
Note: When working in a branch, keep track of if/when you move components from one section to another in the library. This may cause conflicts and/or duplicate components when a Reviewer merges your branch into the main file. Be sure to include this information when you submit your branch for review.
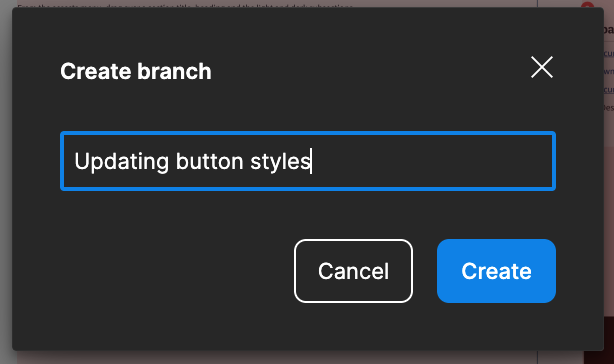
Name your branch and select Create.
Now, you have a branch (aka a copy) of the file.
You can tell when you’re working in a branch by the arrow symbol next to the file name.

How do I view branches in Figma?
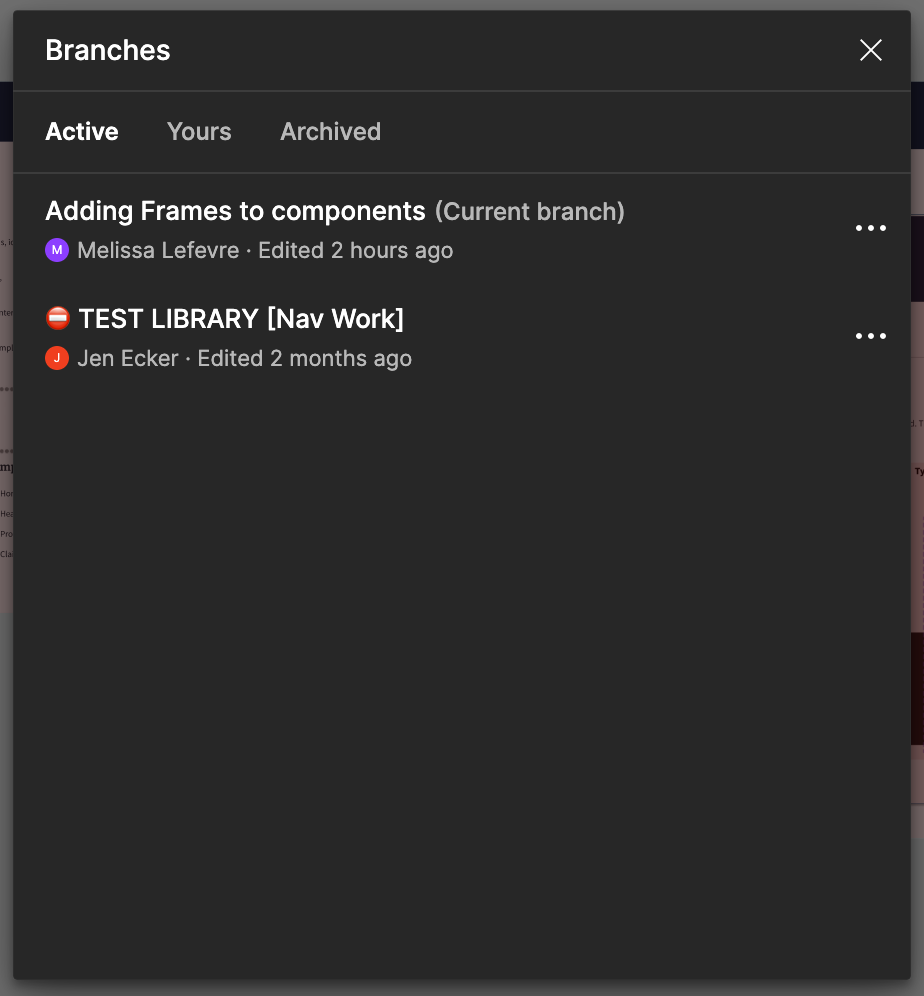
Open the dropdown menu next to the branch name. Then, select See all branches.
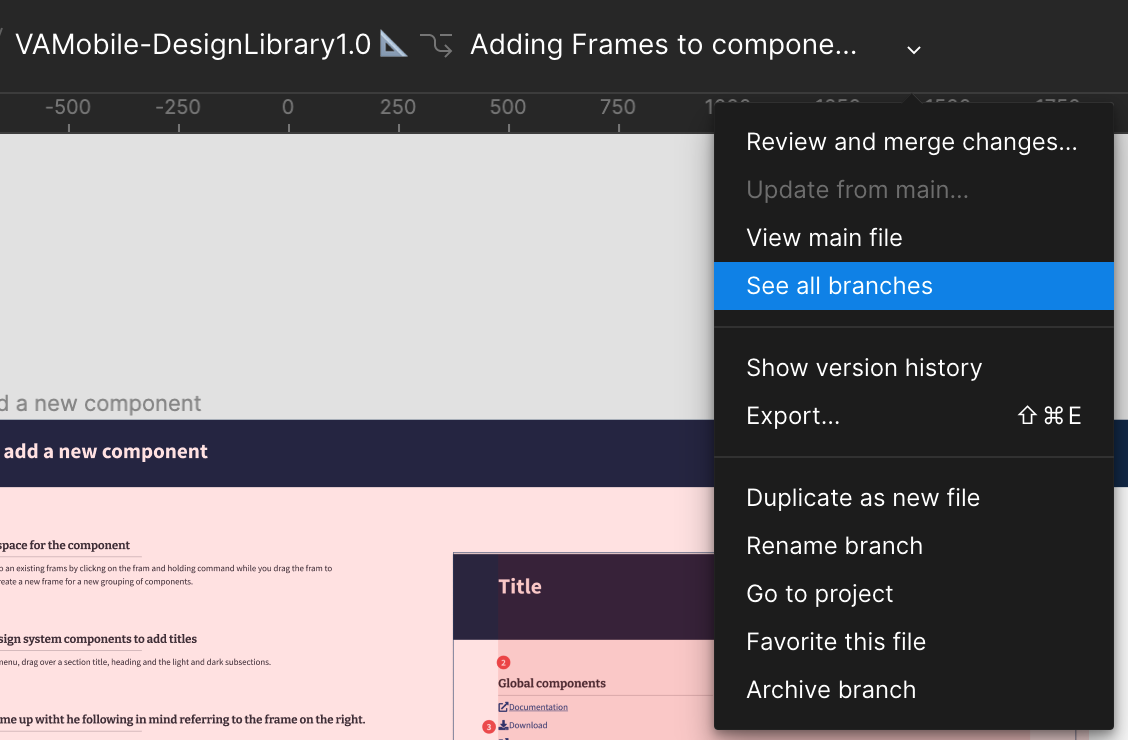
If you switch branches, Figma automatically saves your changes in the branch you were previously working on, so you don’t need to worry about losing your work.
How do I submit a branch for review in Figma?
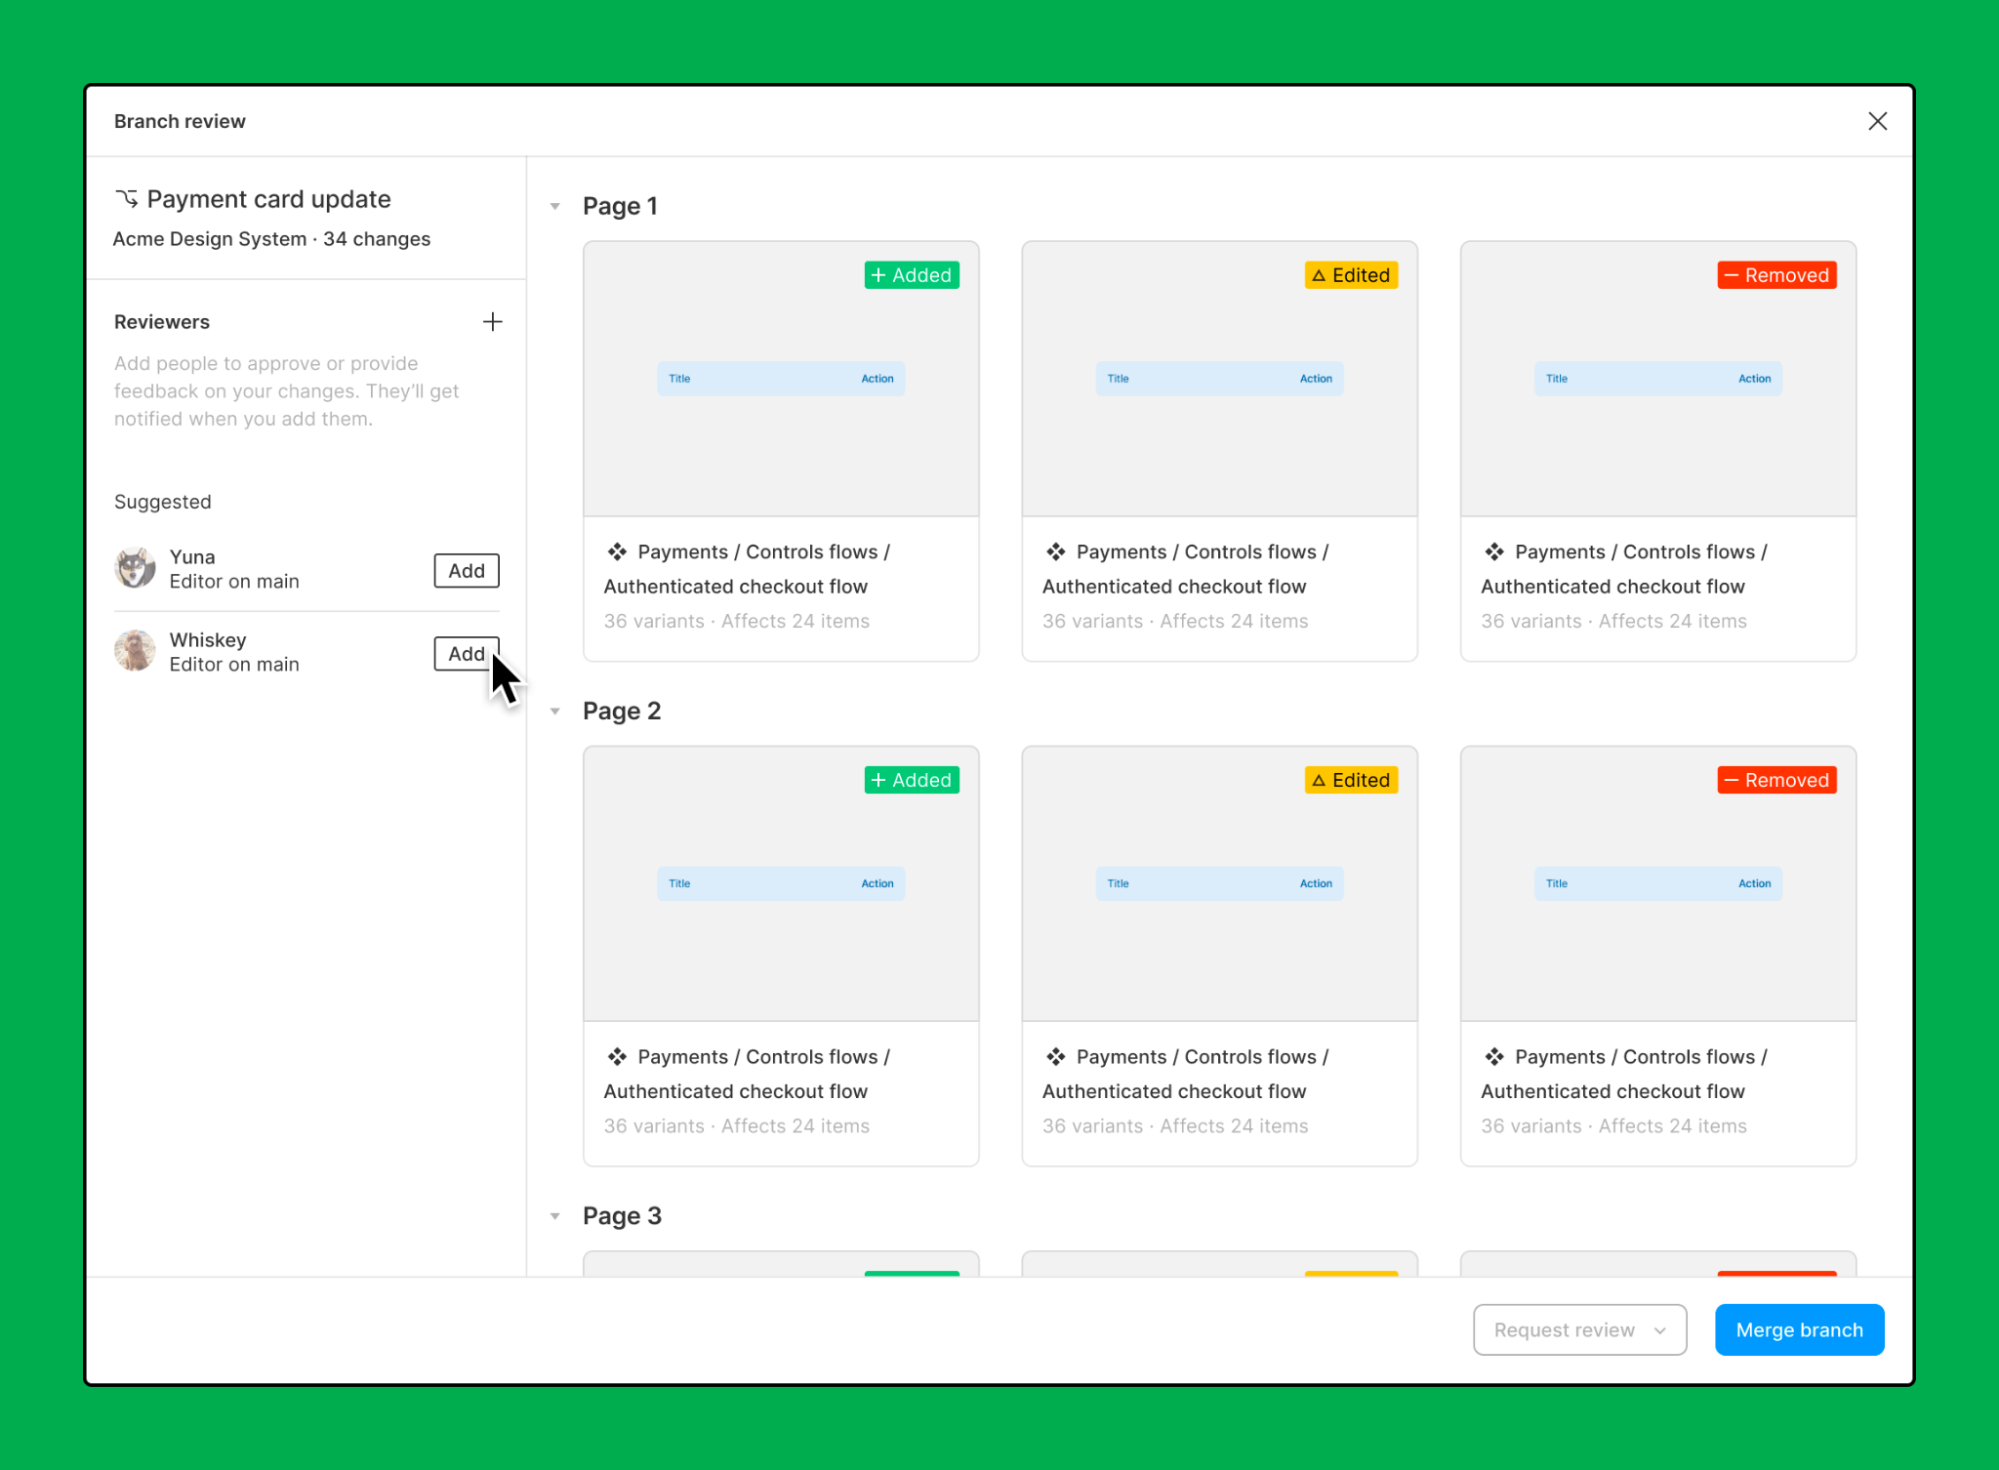
Open the dropdown menu next to the branch name. Then, select Review and merge changes.

In the modal, you’ll see a list of available reviewers. Add the current design librarians as Reviewers. Then, select Request review.
Before sending a branch for review, be sure to include:
- Description of what changes were made
- Justification for why changes were made (ticket number, Slack message, etc)
- In the future, we may ask for documentation to be included
How do I review and merge changes from a branch in Figma?
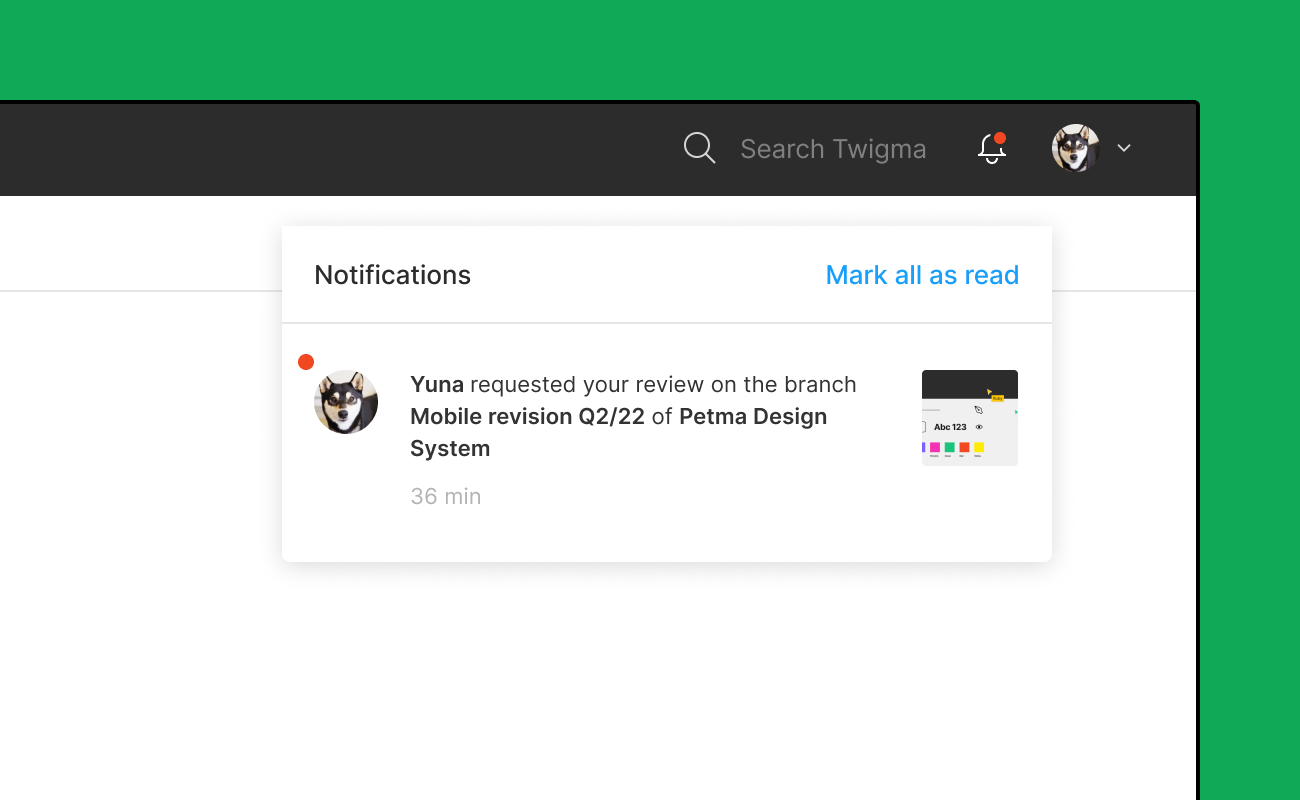
Only the Owner and Editors can review and merge changes. When you request a review of your branch, the Reviewers (design librarians) will receive a notification in Figma, Slack, and/or email.
Next, a Reviewer will review your changes.
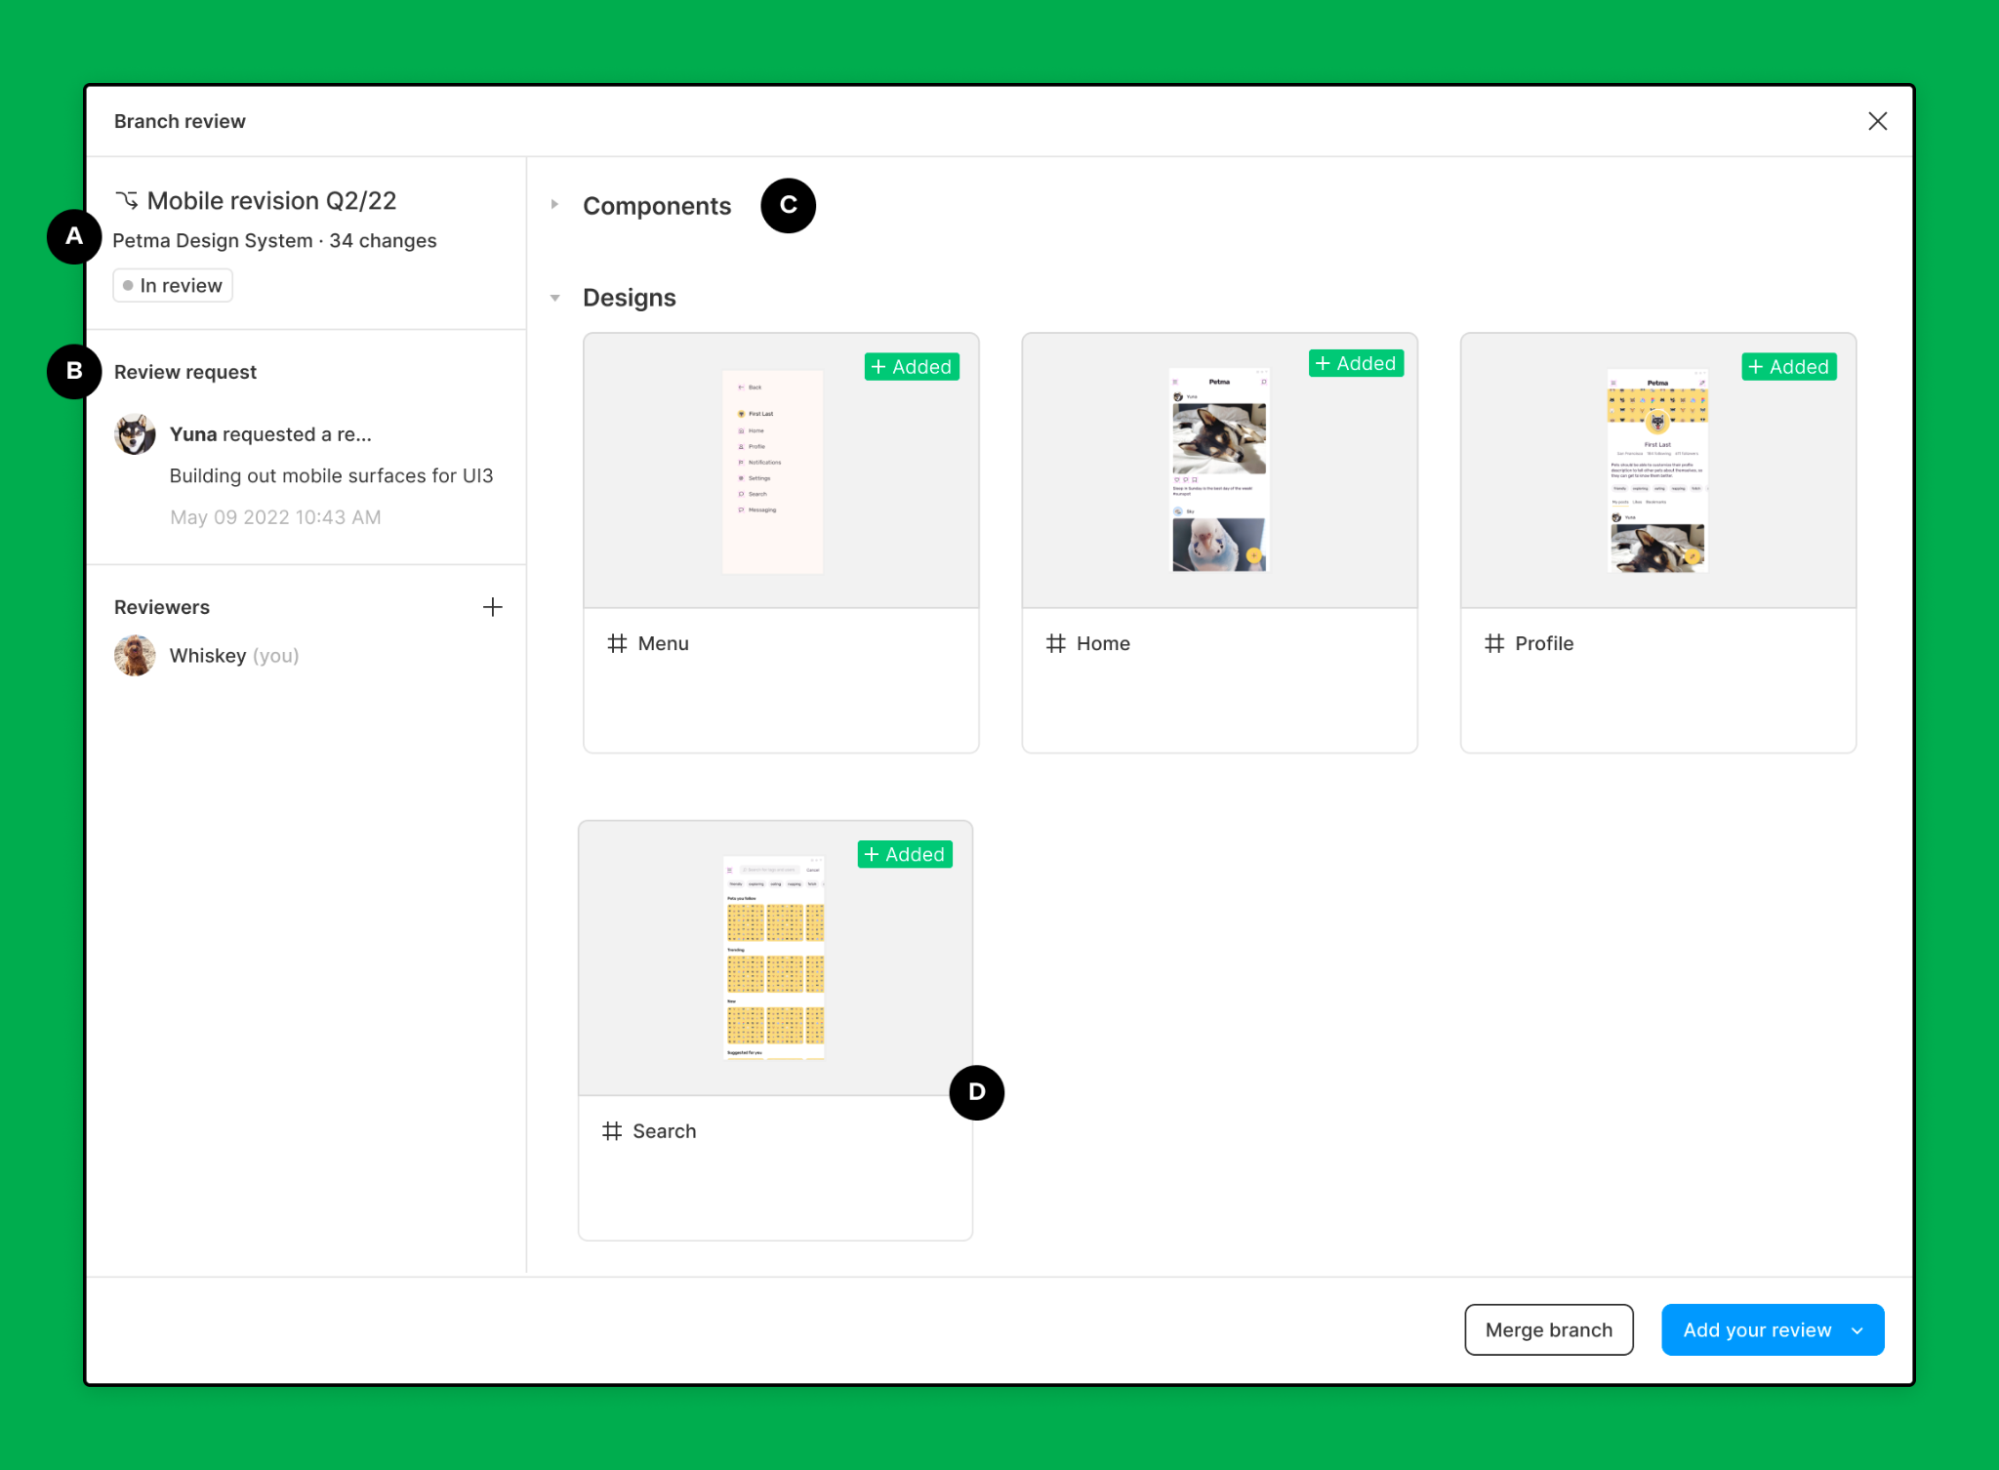
Reviewers can view before and after versions of your changes as side-by-side or overlay comparisons.
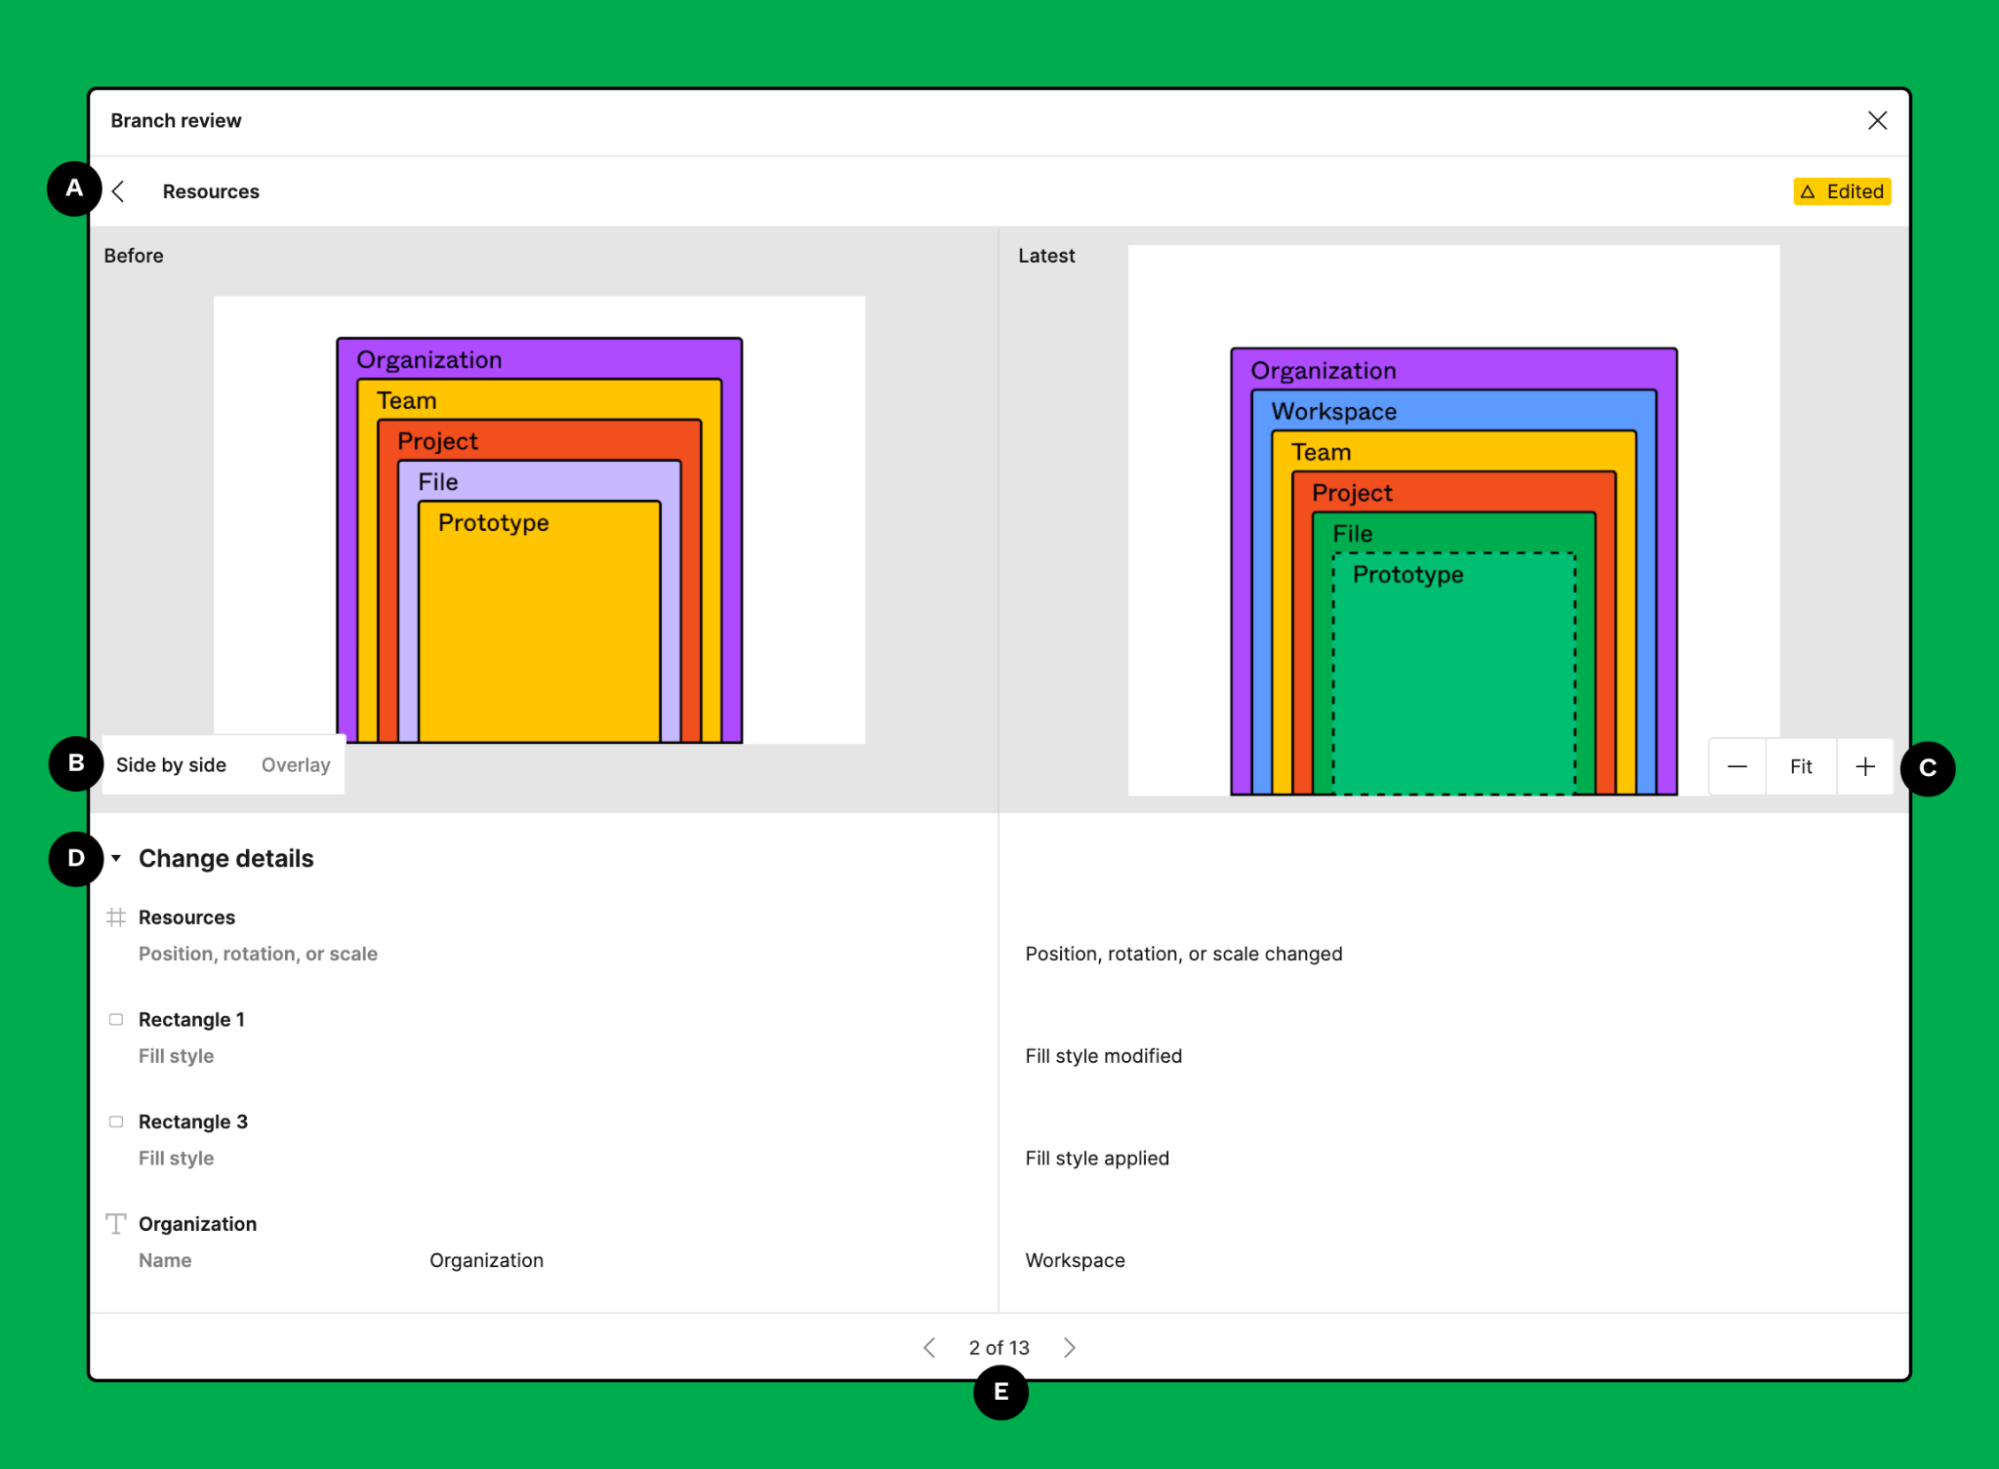
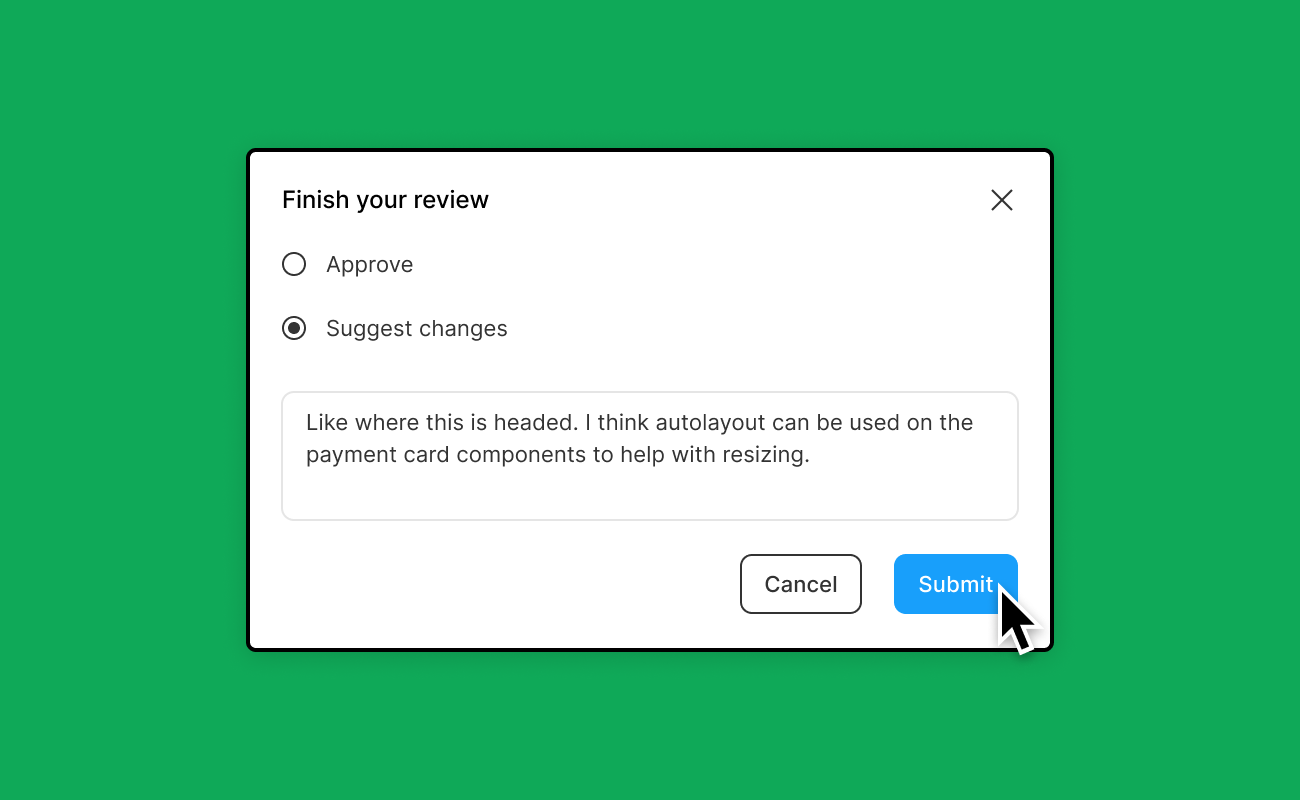
Next, a Reviewer can approve or suggest changes to your branch. Changes can be suggested in the modal or through comments on the individual designs.
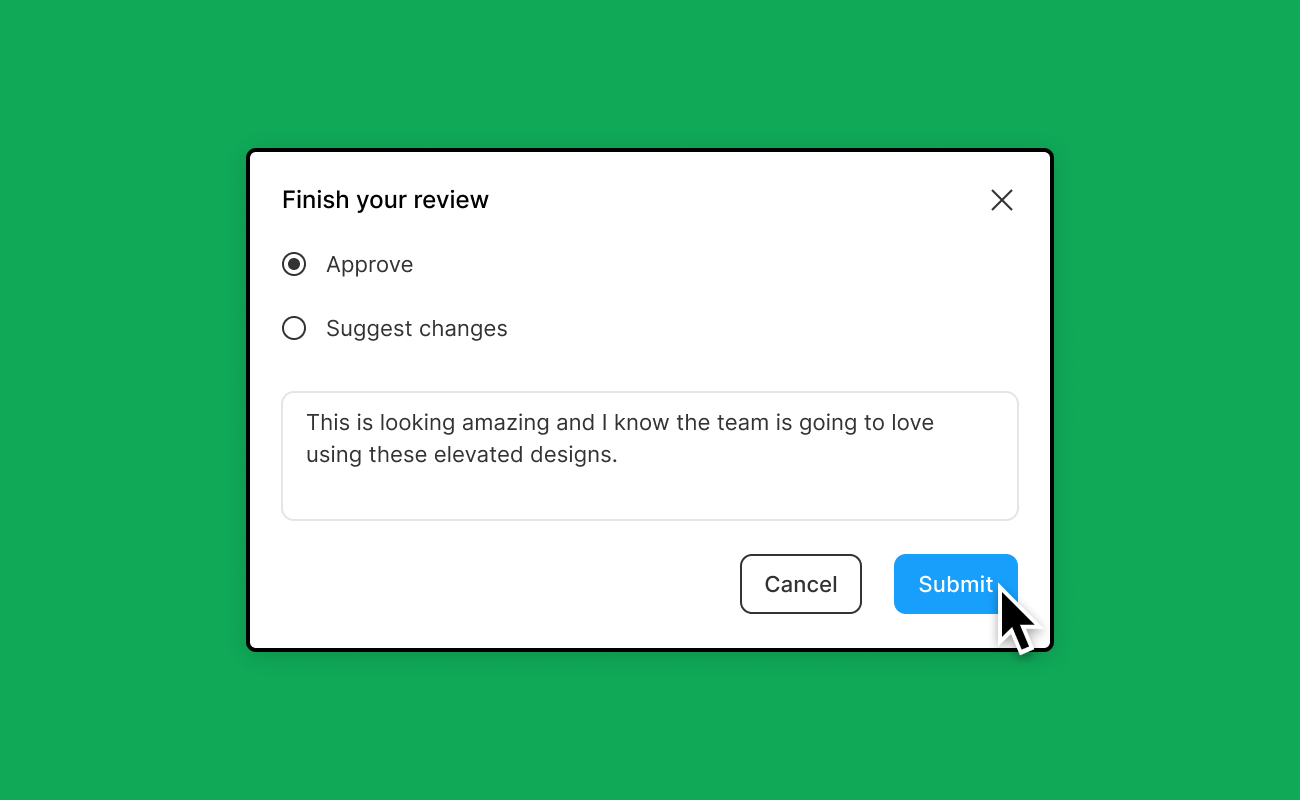
If approved, a Reviewer will merge your changes to the main file. As a reviewer, it’s recommended to add a Name and Description to the merge.
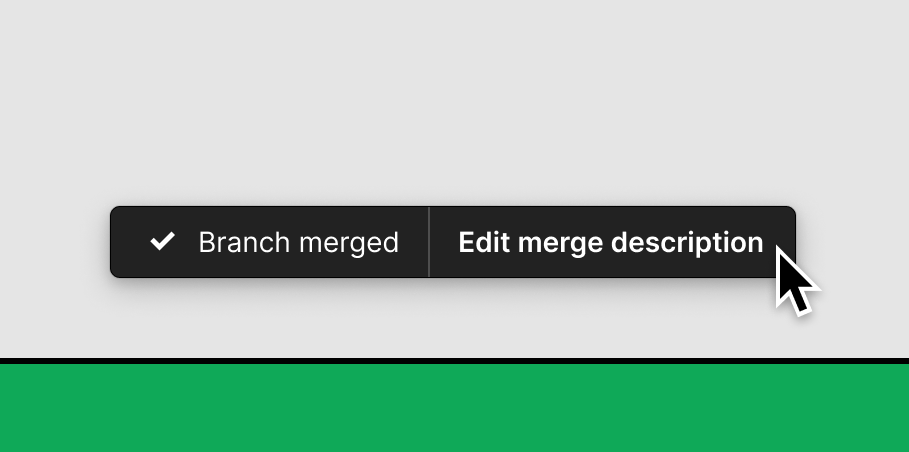
After the review, you’ll receive a notification in Figma and/or email that your branch was either approved and merged or has changes suggested. You’ll be able to view the suggestions in the review modal or through comments. Then, you’ll need to repeat this process to submit your branch for another review.
