Entering command-line arguments into Audit Workbench or Fortify IDE plugin
Question
How do I add custom command-line arguments when using Audit Workbench or the Fortify plugin in my IDE to configure certain aspects of the scan?
Answer
Fortify uses the sourceanalyzer command-line tool behind the scenes when running a scan, and the Audit Workbench Advanced Scan wizard and the IDE Fortify plugins give you a convenient way of setting up the scan and entering the information for your project without having to manually configure all of the options. You can then enter additional command-line arguments to change the way the scan will execute, for example to modify memory settings, create a debug log file, define languages/file extensions, etc.
In the Audit Workbench
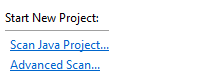
After opening the Audit Workbench, you can select Advanced Scan to start the process:
Then after selecting the directory that contains your source code, you can configure the classpath and decide which directories to include/exclude. Then if you press Next you will be brought to the screen that contains the command-line arguments auto-generated by Fortify:

It is here where you can enter new arguments, one on each line and surrounded with double-quotes. There are separate configurations for the Translate and the Scan phases, and the arguments are generally added to one or both of those sections.
Fortify IDE Plugin (Eclipse or Visual Studio)
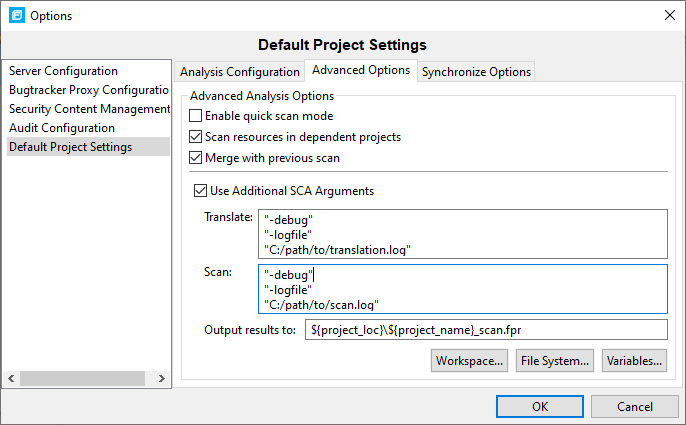
If you are running the scan from an IDE plugin, you can set these options in the options dialog. This will configure the “Default Scan Settings” that will be used for all scans performed by the plugin.
- Select the Fortify > Options menu
- Select “Default project settings” in the left menu
- Click on the “Advanced Scan Options” tab
- Select the “Use additional SCA arguments” checkbox
- Enter the commands in this window:
Or, if you want to enter commands for a single project within Eclipse, right click on the project in the Project Explorer tab, and select “Advanced Analysis…” The “Configure Translation” page will allow you to configure the scan, including the classpath and any command line arguments for the translation phase. Additional translation commands can be added in the “Settings” menu as shown below:
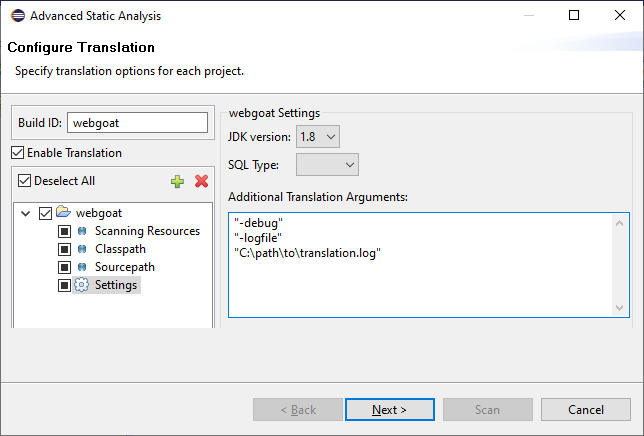
The scan phase arguments can be entered in the next screen (“Configure Scan”).